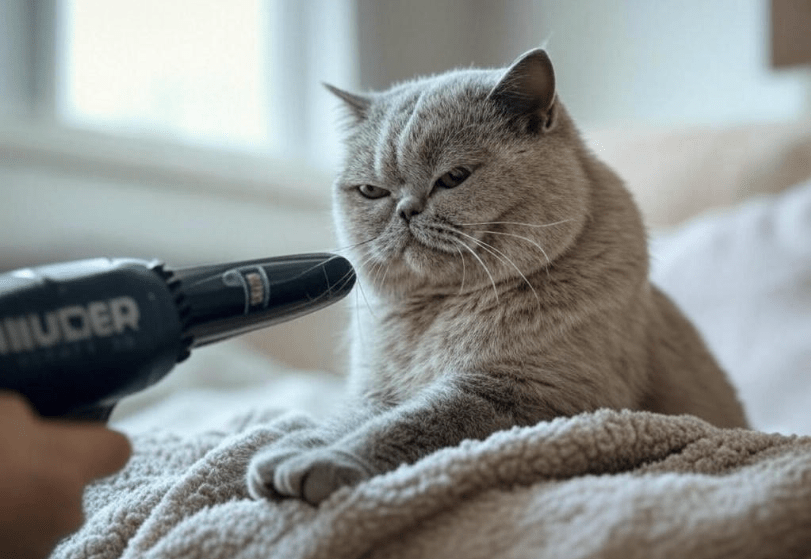
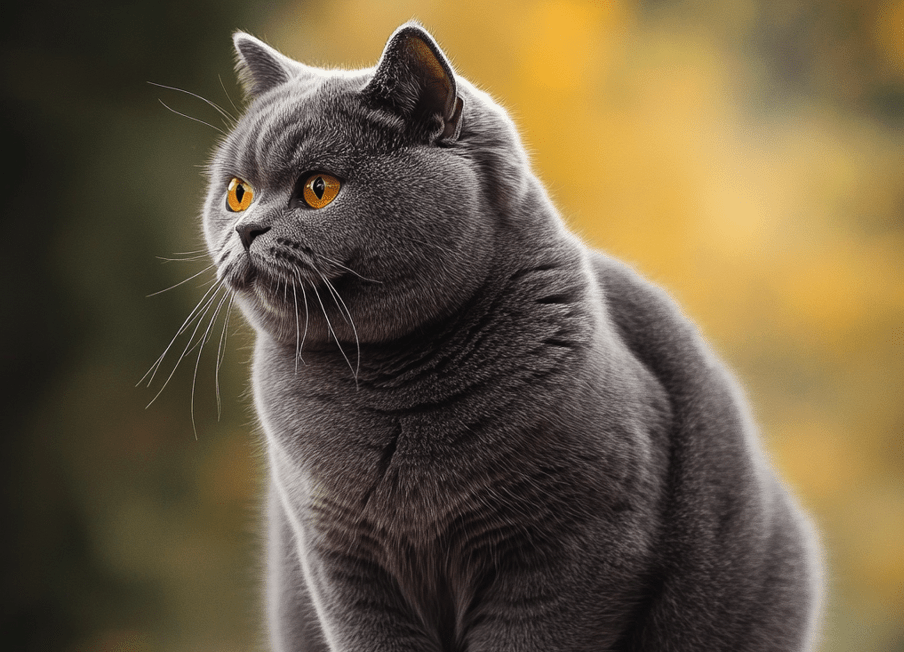
British Shorthair Cats are known for their plush coats and charming personalities, but maintaining their overall hygiene, including ear care, is crucial for their health. Ear cleaning is an essential part of grooming, and knowing how to clean British Shorthair ears at home can prevent infections and keep your feline comfortable. This comprehensive guide walks you through the process of safely cleaning your British Shorthair’s ears, with step-by-step instructions, recommended products, and tips to ensure a stress-free experience. Whether you’re a new or experienced cat owner, this article will equip you with the knowledge to care for your cat’s ears effectively.
Why Ear Cleaning is Important for British Shorthairs
British Shorthairs, like all cats, can accumulate dirt, wax, and debris in their ears, which may lead to discomfort or health issues if not addressed. Regular ear cleaning offers several benefits:
Prevents Infections: Removing dirt and wax reduces the risk of bacterial or yeast infections, which thrive in warm, moist environments like a cat’s ear canal.
Reduces Irritation: Debris or wax buildup can cause itching, leading to scratching and potential injury.
Controls Mites: Ear mites, though less common in indoor cats, can cause irritation and infections if left unchecked.
Improves Hearing: Clean ears ensure your cat’s hearing isn’t impaired by blockages.
Early Detection: Regular cleaning allows you to spot signs of trouble, such as redness, swelling, or unusual odors, early on.
British Shorthairs don’t typically produce excessive earwax, but their ears can still trap debris due to their dense fur and ear shape. Cleaning their ears at home is a simple way to maintain their health.
How Often Should You Clean Your British Shorthair’s Ears?
The frequency of ear cleaning depends on your British Shorthair’s individual needs, lifestyle, and ear health:
Average Indoor Cat: Clean ears once every 4–6 weeks. Indoor British Shorthairs generally have cleaner ears due to less exposure to dirt.
Outdoor or Active Cats: If your cat spends time outside, clean their ears every 2–4 weeks to remove dirt or pollen.
Cats with Ear Issues: If your British Shorthair has a history of infections, allergies, or excessive wax, clean every 1–2 weeks, but consult a vet for guidance.
Shedding Seasons: During spring and fall, loose fur can get trapped near the ears, so check weekly and clean as needed.
Key Note: Over-cleaning can irritate the ear canal and disrupt its natural balance, so only clean when necessary. If you’re unsure, consult your veterinarian.
Signs Your British Shorthair’s Ears Need Cleaning
Before cleaning, check your cat’s ears to determine if it’s necessary. Look for these signs:
Visible Dirt or Wax: Brown or yellowish buildup inside the ear flap or canal.
Unpleasant Odor: A foul smell may indicate an infection or excessive wax.
Scratching or Head Shaking: Frequent scratching or head tilting can signal irritation.
Redness or Swelling: Inflammation may suggest an infection or allergy.
Debris or Black Specks: Black specks resembling coffee grounds could indicate ear mites.
If you notice any of these signs—especially odor, redness, or excessive scratching—consult a vet before cleaning, as these could indicate an underlying issue.
Supplies You’ll Need to Clean British Shorthair Ears at Home
Gather the following supplies to ensure a safe and effective ear-cleaning session:
Cat-Safe Ear Cleaner: A vet-recommended solution designed for cats (e.g., Virbac Epi-Otic Advanced Ear Cleanser, $10–$15).
Cotton Balls or Gauze Pads: For wiping away debris (avoid cotton swabs, which can push debris deeper).
Towel: To wrap your cat or catch drips.
Treats: For positive reinforcement during and after the process.
Gloves (Optional): If you’re concerned about hygiene or scratching.
Warm Water: To warm the ear cleaner slightly for your cat’s comfort.
Caution: Never use human ear cleaners, alcohol, hydrogen peroxide, or vinegar, as these can irritate or damage your cat’s sensitive ears.
Step-by-Step Guide to Clean Your British Shorthair’s Ears Safely
Follow these steps to clean your British Shorthair’s ears at home without causing stress or injury:
1. Prepare Your Cat and Environment
-
Choose a quiet, well-lit space where your cat feels comfortable, such as a table or your lap.
-
Lay down a towel to catch any drips or debris.
-
Let your cat sniff the supplies to familiarize themselves with them.
-
Reward with treats or praise to create a positive association.
2. Inspect the Ears
-
Gently lift your cat’s ear flap and examine the inner ear for dirt, wax, redness, or odor.
-
If you notice signs of infection (e.g., swelling, strong odor, or discharge), stop and consult a vet before proceeding.
-
Use a flashlight if needed to get a better view, but avoid startling your cat.
3. Apply the Ear Cleaner
-
Warm the ear cleaner bottle in your hands or a bowl of warm (not hot) water for a few minutes to make it more comfortable for your cat.
-
Hold the ear flap gently with one hand to keep it open.
-
Squeeze a few drops of the ear cleaner into the ear canal, following the product’s instructions (usually 5–10 drops).
-
Avoid touching the bottle tip to the ear to prevent contamination.
4. Massage the Ear Base
-
Gently massage the base of the ear (below the flap) for 20–30 seconds. You may hear a squishing sound as the cleaner breaks up wax and debris.
-
This step helps the cleaner reach deeper into the ear canal without forcing it.
5. Let Your Cat Shake Their Head
-
Release your cat’s ear and allow them to shake their head. This natural reaction helps dislodge debris and excess cleaner from the ear canal.
-
Be prepared for some cleaner to splatter—use the towel to shield yourself if needed.
6. Wipe Away Debris
-
Use a cotton ball or gauze pad to gently wipe the inner ear flap and the entrance to the ear canal.
-
Remove any visible wax, dirt, or cleaner residue, but do not insert anything deep into the ear canal, as this can cause injury.
-
Use a fresh cotton ball for each ear to avoid spreading debris or bacteria.
7. Repeat for the Other Ear
-
Repeat the process for the second ear, using clean supplies to prevent cross-contamination.
8. Reward Your Cat
-
Offer treats, praise, or playtime to end the session on a positive note.
-
This helps your British Shorthair associate ear cleaning with a rewarding experience.
Tip: Keep sessions short (5–10 minutes) to avoid stressing your cat, especially if they’re new to ear cleaning.
Best Ear Cleaning Products for British Shorthairs
Choosing the right ear cleaner is crucial for safe and effective cleaning. Here are top recommendations:
1. Virbac Epi-Otic Advanced Ear Cleanser
Why It’s Great: Gentle, vet-recommended formula that removes wax and debris while preventing bacterial growth.
Best For: Routine ear cleaning and cats prone to wax buildup.
Price Range: $10–$15
2. Pet MD Veterinary Ear Cleaner
Why It’s Great: Contains aloe vera and eucalyptus to soothe ears while cleaning. Safe for regular use.
Best For: Cats with sensitive ears or mild irritation.
Price Range: $8–$12
3. Zymox Ear Cleanser
Why It’s Great: Non-toxic formula with enzymes to break down wax and prevent infections.
Best For: Cats with a history of ear infections (use under vet guidance).
Price Range: $12–$18
4. TropiClean Ear Wash
Why It’s Great: Made with natural ingredients like chamomile and tea tree oil to clean and soothe.
Best For: Cats that need a gentle, calming ear cleaner.
Price Range: $10–$15
Caution: Always follow the product instructions and consult your vet if your cat has a history of ear issues.
Common Mistakes to Avoid When Cleaning British Shorthair Ears
Using Cotton Swabs: Inserting swabs into the ear canal can push debris deeper or cause injury.
Over-Cleaning: Cleaning too frequently can irritate the ear and disrupt its natural balance.
Using Harsh Products: Human ear cleaners, alcohol, or vinegar can burn or dry out the ear canal.
Forcing the Process: Rushing or restraining your cat too tightly can cause stress and resistance.
Ignoring Signs of Infection: Cleaning infected ears without veterinary guidance can worsen the condition.
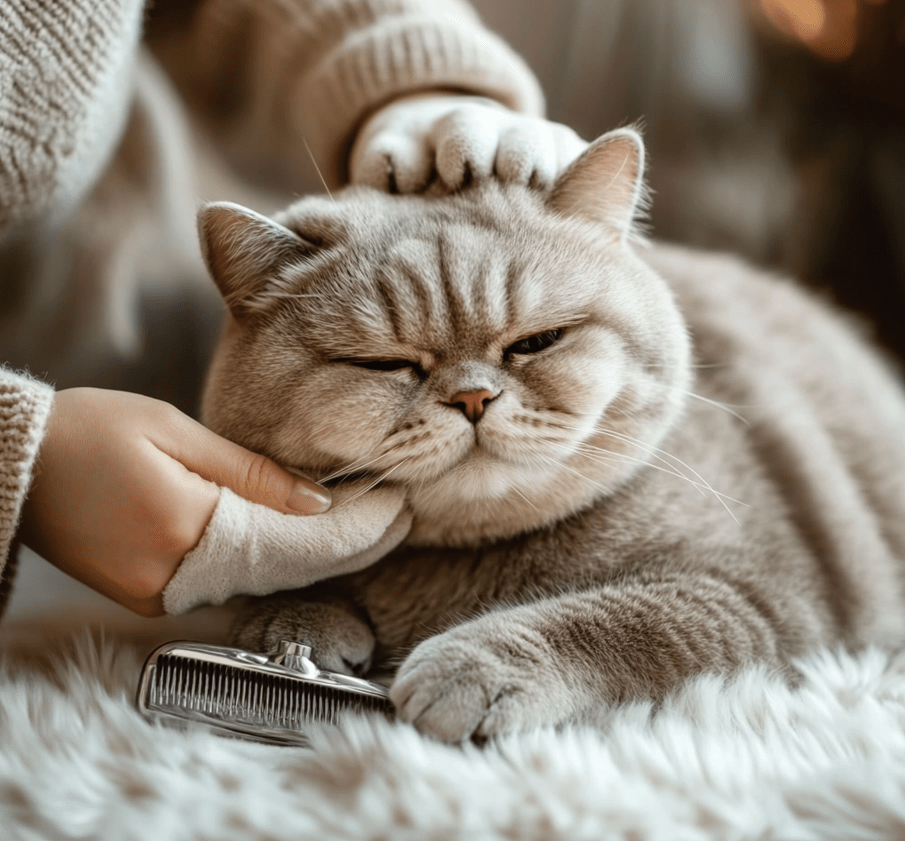
Tips for Making Ear Cleaning a Positive Experience
Start Young: Introduce ear cleaning to kittens to build lifelong comfort.
Go Slow: If your cat is new to ear cleaning, start by simply touching their ears and rewarding them with treats.
Use Positive Reinforcement: Offer treats, praise, or playtime during and after cleaning.
Stay Calm: Your cat will sense your energy, so remain relaxed and patient.
Choose the Right Time: Clean ears when your cat is relaxed, such as after a nap or meal.
Understanding Your British Shorthair’s Ear Anatomy
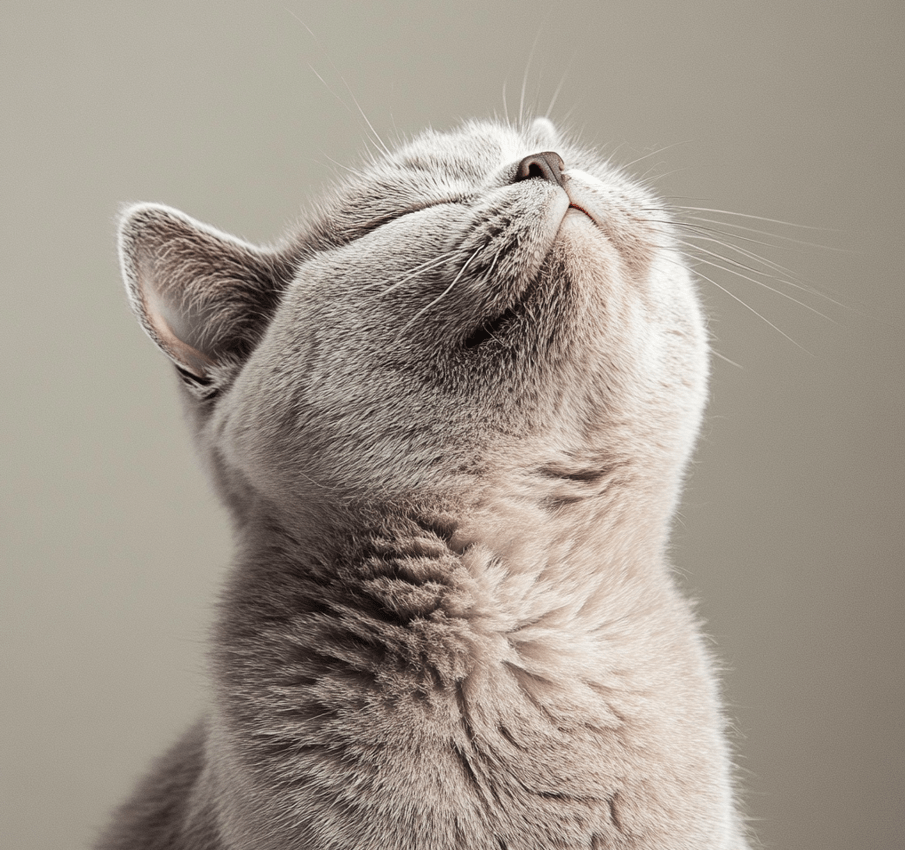
To clean safely, it’s helpful to understand the structure of a British Shorthair’s ears:
Ear Flap (Pinna): The visible part of the ear that collects sound and protects the inner ear.
Ear Canal: A curved tube that leads to the eardrum. It’s L-shaped, so you should never insert anything deep into it.
Earwax Production: Cats naturally produce wax to trap debris and protect the ear, but excess buildup needs to be cleaned.
British Shorthairs typically have upright ears with minimal hair inside, making them less prone to wax buildup than breeds with folded ears. However, their dense fur around the ears can trap debris, so regular checks are essential.
When to Seek Veterinary Help
While cleaning your British Shorthair’s ears at home is usually safe, some situations require professional attention:
Signs of Infection: Persistent odor, discharge, redness, swelling, or pain.
Ear Mites: Black, coffee-ground-like specks or intense scratching.
Foreign Objects: If you suspect something is stuck in the ear canal.
Behavioral Changes: Excessive head shaking, tilting, or scratching that doesn’t improve after cleaning.
Chronic Issues: Recurring ear problems may indicate allergies, polyps, or other underlying conditions.
A veterinarian can perform a thorough exam, prescribe medicated cleaners or treatments, and ensure your cat’s ears are healthy.
Additional Ear Care Tips for British Shorthairs
Ear cleaning is just one part of ear care. Complement it with these practices:
Regular Inspections: Check your cat’s ears weekly during grooming sessions to catch issues early.
Keep Ears Dry: After baths or exposure to water, dry the ears thoroughly to prevent moisture buildup.
Groom Around the Ears: Use a slicker brush to remove loose fur around the ears, which can trap debris.
Flea Prevention: Use vet-recommended flea treatments, as scratching from fleas can lead to ear irritation.
Healthy Diet: A diet rich in omega fatty acids (e.g., fish oil) supports skin and ear health, reducing wax buildup.
Conclusion
Learning how to clean British Shorthair ears at home is a valuable skill that ensures your cat’s comfort and health. By following the step-by-step guide, using vet-recommended products like Virbac Epi-Otic Advanced Ear Cleanser, and maintaining a regular ear care routine, you can prevent infections and keep your British Shorthair’s ears in top condition. With patience, positive reinforcement, and the right approach, ear cleaning can become a stress-free part of your grooming routine, strengthening your bond with your feline friend. This guide provides all the tools and insights you need to care for your British Shorthair’s ears safely and effectively.