Maine Coons, with their majestic tufted ears and gentle personalities, require regular grooming to stay healthy, and learning how to clean Maine Coon ears is an essential part of their care. These large, sociable cats are prone to ear wax buildup and debris due to their ear tufts and active lifestyles, which can lead to infections if neglected. Cleaning their ears doesn’t have to be stressful for you or your feline friend. This comprehensive guide will walk you through the step-by-step process, tools needed, and expert tips to ensure a calm, effective ear-cleaning routine for your Maine Coon.
Why Cleaning Maine Coon Ears Is Important
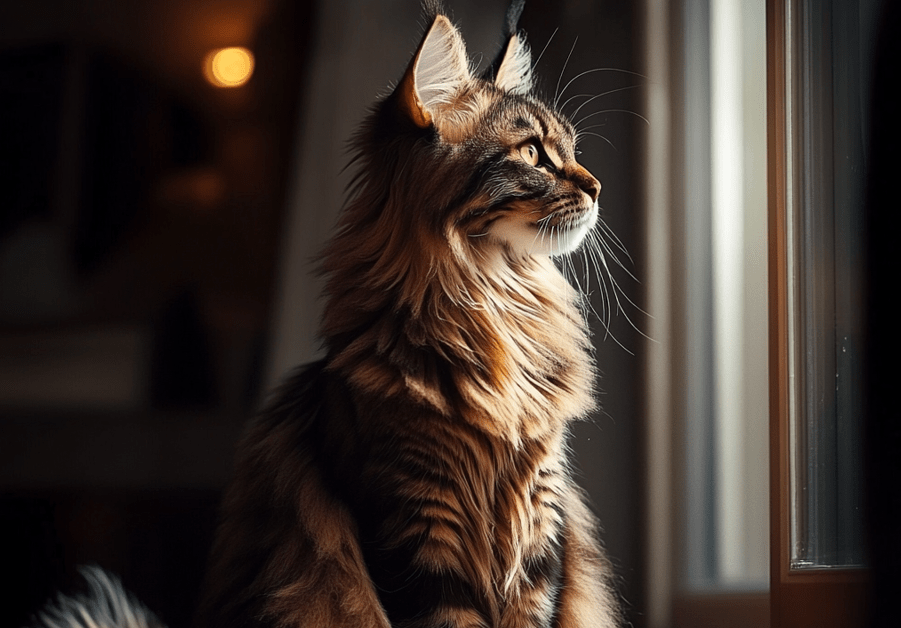
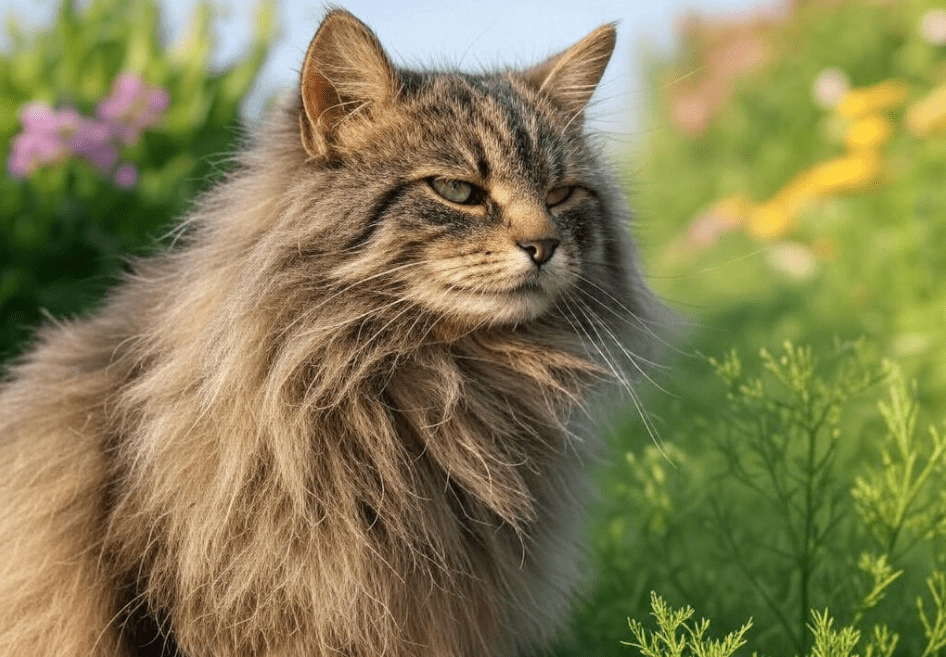
Maine Coons have unique ears—large, wide, and adorned with lynx-like tufts that make them prone to trapping dust, dirt, and wax. Regular ear cleaning is crucial for several reasons:
Prevents Infections: Excess wax or debris can create a breeding ground for bacteria or yeast, leading to painful ear infections. Studies show that 10–20% of cats may develop ear infections, with long-haired breeds like Maine Coons at higher risk.
Reduces Mite Infestations: Ear mites, though less common in indoor cats, can cause irritation and require veterinary intervention if untreated.
Maintains Comfort: Clean ears prevent itching, head shaking, or discomfort, keeping your Maine Coon happy.
Early Detection: Regular cleaning allows you to spot abnormalities like redness, swelling, or odors, enabling early treatment.
By mastering how to clean Maine Coon ears, you’ll promote your cat’s overall health and strengthen your bond through gentle, stress-free grooming.
How Often Should You Clean Your Maine Coon’s Ears?
The frequency of ear cleaning depends on your Maine Coon’s lifestyle and ear health:
General Recommendation: Clean their ears every 2–4 weeks to prevent buildup without over-cleaning, which can irritate the ear canal.
Active or Outdoor Cats: Maine Coons who roam outdoors may need weekly checks due to exposure to dirt or parasites.
Cats with Ear Issues: If your cat has a history of infections or mites, follow your veterinarian’s advice, which may include more frequent cleaning with medicated solutions.
Always inspect your Maine Coon’s ears before cleaning. Healthy ears are pink, odor-free, and have minimal wax. If you notice excessive wax, foul smells, or redness, consult a vet before proceeding.
Tools and Supplies for Cleaning Maine Coon Ears
To clean Maine Coon ears safely and effectively, gather these supplies:
Veterinary-Approved Ear Cleaner: Choose a cat-safe solution like Vet’s Best Ear Cleaning Solution or Virbac Epi-Otic Advanced Ear Cleanser. Avoid homemade remedies like vinegar or hydrogen peroxide, which can harm delicate ear tissues.
Cotton Balls or Pads: Use soft, non-fraying cotton balls or gauze pads to wipe away debris. Avoid cotton swabs (e.g., Q-tips), as they can push debris deeper or damage the ear canal.
Towel or Blanket: Wrap your Maine Coon in a towel to keep them secure and calm during cleaning.
Treats: High-value treats, like freeze-dried chicken or Temptations Cat Treats, reward your cat and create positive associations.
Gloves (Optional): Wear gloves if your cat is prone to scratching or if you’re handling medicated solutions.
Flashlight: A small flashlight helps you inspect the ear canal for debris or abnormalities.
Store supplies in a clean, accessible kit to streamline the process. Always check the ear cleaner’s expiration date and follow its instructions.
Step-by-Step Guide to Clean Maine Coon Ears
Follow these steps to clean Maine Coon ears without causing stress for you or your cat:
Step 1: Prepare Your Cat and Environment
Choose a Calm Time: Pick a moment when your Maine Coon is relaxed, such as after a meal or nap. Avoid cleaning during playtime or when they’re agitated.
Set Up a Comfortable Space: Use a table or counter with a non-slip surface. Lay down a towel to keep your cat cozy and secure.
Introduce Supplies Gradually: Let your Maine Coon sniff the ear cleaner and cotton balls to reduce anxiety. Offer a treat to create a positive association.
Position Your Cat: Gently wrap your cat in a towel, leaving their head exposed, or have a trusted helper hold them securely. For solo cleaning, place your Maine Coon on your lap, facing away from you.
Step 2: Inspect the Ears
Use a Flashlight: Gently lift your Maine Coon’s ear flap (pinna) and use a flashlight to check for wax, dirt, redness, or swelling. Healthy ears are pale pink with minimal wax.
Look for Warning Signs: Dark, crumbly debris (like coffee grounds) may indicate ear mites. Foul odors, excessive wax, or redness suggest infection. If these are present, stop and consult a vet.
Check Ear Tufts: Maine Coons’ ear tufts can trap debris. Gently brush them with a soft pet brush if needed, but avoid pulling.
Step 3: Apply the Ear Cleaner
Read Instructions: Follow the ear cleaner’s dosage guidelines (usually 5–10 drops per ear).
Administer the Solution: Hold the ear flap up with one hand and use the other to squeeze the recommended amount of cleaner into the ear canal. Aim for the base of the canal, not directly into it.
Massage the Ear Base: Gently massage the base of the ear (below the flap) for 20–30 seconds to distribute the solution. You may hear a squishing sound, which is normal.
Stay Calm: If your Maine Coon shakes their head, that’s okay—it helps loosen debris. Hold them gently to prevent sudden movements.
Step 4: Wipe Away Debris
Use Cotton Balls: Wrap a cotton ball or pad around your finger and gently wipe the outer ear canal and ear flap. Focus on visible areas, removing wax, dirt, or loosened debris.
Avoid Deep Cleaning: Never insert anything deep into the ear canal, as this can cause injury or push debris further.
Repeat if Needed: If the ear is very dirty, apply more cleaner and wipe again. Use a fresh cotton ball for each wipe to avoid spreading bacteria.
Clean Both Ears: Repeat the process for the other ear, using clean supplies to prevent cross-contamination.
Step 5: Reward and Release
Offer Treats and Praise: Immediately reward your Maine Coon with treats and gentle praise to reinforce positive behavior.
Let Them Relax: Allow your cat to shake their head or groom themselves, as this is a natural response to ear cleaning.
Monitor Behavior: Watch for excessive scratching or head shaking over the next few hours, which could indicate irritation or an underlying issue.
Step 6: Clean Up
Dispose of Used Supplies: Throw away used cotton balls and clean any spills to maintain hygiene.
Store Supplies Safely: Keep ear cleaners and tools out of reach of pets and children.
Wash Your Hands: Thoroughly wash your hands to avoid spreading bacteria or allergens.
Tips to Reduce Stress During Ear Cleaning
Maine Coons are generally docile, but ear cleaning can be unsettling. Use these strategies to keep the process stress-free:
Start Young: Introduce ear handling to kittens to build tolerance. Gently touch their ears during play or cuddling, rewarding them with treats.
Go Slow: If your Maine Coon is nervous, break the process into shorter sessions over a few days. For example, apply cleaner one day and wipe the next.
Use Calming Aids: Products like Feliway Classic Spray or calming treats can reduce anxiety. Spray Feliway on the towel 15 minutes before cleaning.
Play Soothing Sounds: Soft classical music or white noise can calm your cat, as suggested by feline behaviorists.
Know When to Stop: If your Maine Coon becomes aggressive or overly stressed, pause and try again later. Forcing the process can damage trust.
Consult a Professional: If your cat consistently resists, ask a vet or professional groomer to demonstrate techniques or perform the cleaning.
Common Mistakes to Avoid When Cleaning Maine Coon Ears
To ensure safety and effectiveness, steer clear of these pitfalls:
Using Human Products: Human ear cleaners, alcohol, or hydrogen peroxide can irritate or damage cat ears. Stick to vet-approved solutions.
Over-Cleaning: Cleaning too often (e.g., daily) strips natural oils, causing dryness or irritation. Stick to a 2–4-week schedule unless advised otherwise.
Ignoring Warning Signs: Don’t clean ears if you suspect infection or mites, as this can worsen the condition. Seek veterinary advice first.
Using Cotton Swabs: Swabs can push debris deeper or rupture the eardrum. Use cotton balls or pads instead.
Rushing the Process: Hurrying can stress your Maine Coon and lead to incomplete cleaning. Take your time to ensure comfort.
Neglecting Hygiene: Dirty supplies or hands can introduce bacteria. Always use clean tools and wash up afterward.
Recognizing Ear Problems in Maine Coons
Regular ear cleaning helps you monitor your Maine Coon’s ear health. Watch for these signs of potential issues:
Ear Mites: Dark, crumbly debris, intense itching, or head shaking. Common in kittens or cats from shelters
Bacterial or Yeast Infections: Foul odor, yellow or green discharge, redness, or swelling. Often linked to allergies or excessive moisture.
Allergies: Itchy ears, redness, or excessive wax, especially in Maine Coons with food or environmental allergies.
Foreign Objects: Grass seeds or debris can lodge in ears, causing discomfort. Outdoor Maine Coons are at higher risk.
Polyps or Tumors: Rare but possible in older cats, appearing as growths or persistent irritation.
If you notice any of these symptoms, stop cleaning and contact your veterinarian. They may recommend diagnostic tests (e.g., ear swabs) or prescribe medicated drops, such as Tresaderm for mites or Posatex for infections.
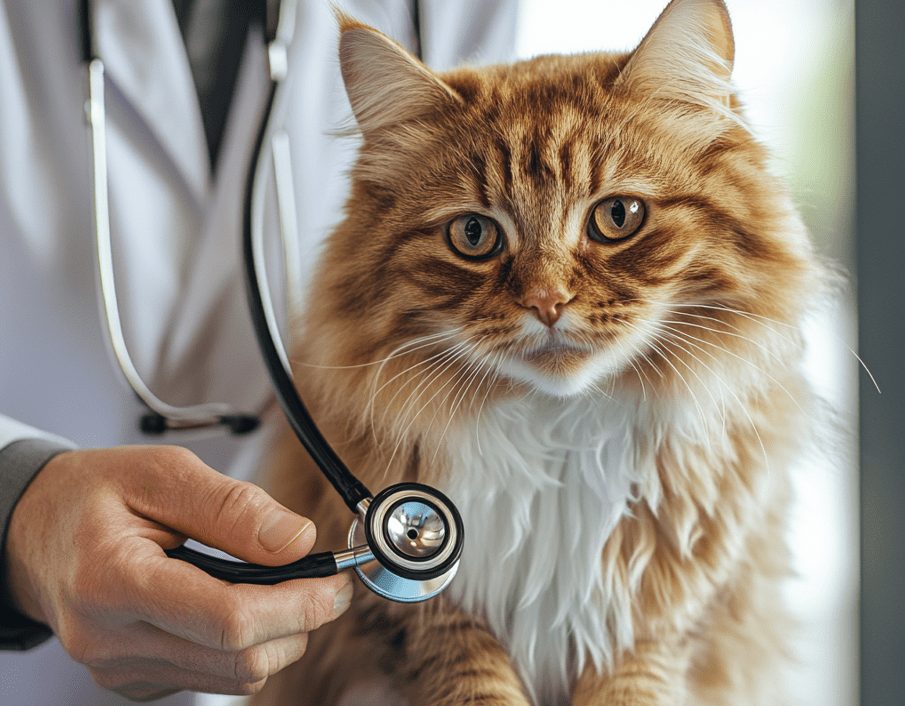
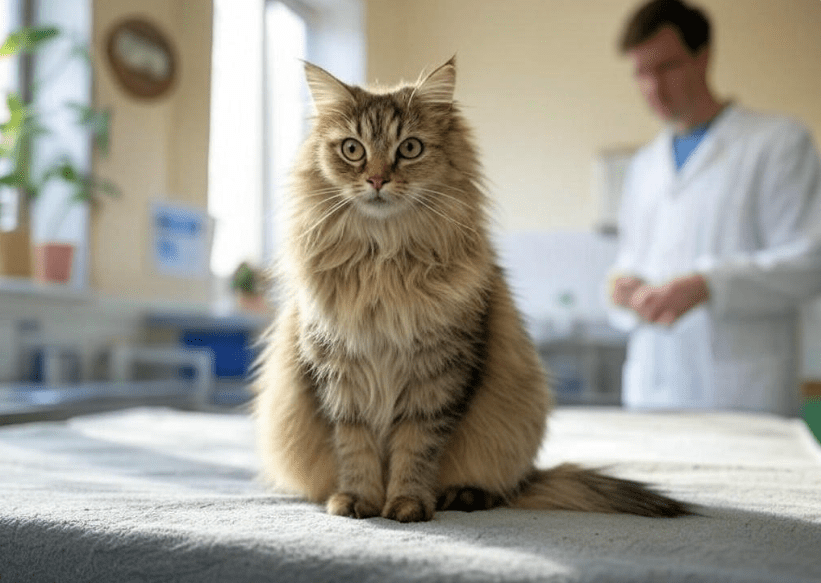
When to Seek Veterinary Help
While routine ear cleaning is safe for healthy Maine Coons, professional care is needed in these cases:
Persistent Symptoms: If itching, odor, or discharge continues after cleaning, a vet can diagnose underlying issues.
Pain or Sensitivity: If your cat yowls or pulls away when you touch their ears, they may have an infection or injury.
Ear Mite Infestation: Over-the-counter mite treatments are less effective than vet-prescribed options like Revolution or Milbemite.
Chronic Ear Issues: Maine Coons with recurring infections may need allergy testing or specialized cleaning protocols.
First-Time Cleaning: If you’re unsure about cleaning or your cat is uncooperative, ask your vet for a demonstration.
Veterinary visits typically cost $50–$150, depending on diagnostics or treatments, but early intervention prevents complications.
Preventive Care for Healthy Maine Coon Ears
In addition to regular cleaning, these habits keep your Maine Coon’s ears in top condition:
Groom Ear Tufts: Gently brush ear tufts weekly with a soft pet brush to remove debris and prevent matting.
Control Allergies: If your Maine Coon has allergies, work with your vet to identify triggers (e.g., food or pollen) and manage symptoms.
Keep Ears Dry: After baths or exposure to water, dry the outer ear with a soft cloth to prevent yeast growth.
Monitor Outdoor Cats: Check ears frequently if your Maine Coon goes outside, as they’re more prone to mites or debris.
Maintain Overall Health: A balanced diet and regular vet checkups boost immunity, reducing infection risk.
Conclusion
Learning how to clean Maine Coon ears is a vital skill for every owner of these magnificent cats. With the right tools, a gentle approach, and a stress-free routine, you can keep your Maine Coon’s ears healthy and comfortable while strengthening your bond. Regular ear cleaning prevents infections, reduces discomfort, and allows you to monitor for early signs of trouble. By following this guide’s step-by-step instructions, avoiding common mistakes, and incorporating preventive care, you’ll ensure your Maine Coon’s ears stay clean and infection-free.
For the best results, invest in high-quality supplies like Virbac Epi-Otic or Vet’s Best Ear Cleaner and practice patience with your cat. If you encounter persistent issues or resistance, don’t hesitate to consult your veterinarian for personalized advice. Your Maine Coon deserves the best care, and clean ears are a key part of their well-being.
Ready to start cleaning your Maine Coon’s ears? Stock up on supplies from trusted retailers like Chewy, Amazon, or your local pet store, and make ear cleaning a stress-free part of your grooming routine!